Watching my cats from anywhere with Tailscale
I have a couple of cameras around the house to keep an eye on the cats when I’m away. The ones I use are Reolink E1 Zoom cameras. They work entirely offline, no cloud account required, no mandatory app sign-in, just a camera on the local network. The limitation is obvious once you leave the house. If the camera is only reachable on 192.168.0.x, remote access usually means either handing that job to Reolink’s relay service or exposing something on your own network. I wanted neither.
What I ended up with is simple: the cameras stay local-only, a Raspberry Pi 5 advertises the home subnet into my tailnet, and the Reolink app continues talking to the camera by its normal LAN address even when I’m on mobile data.
Why this camera works well for it
I picked the hardware first, because the whole setup depends on the camera not insisting on a cloud control plane.
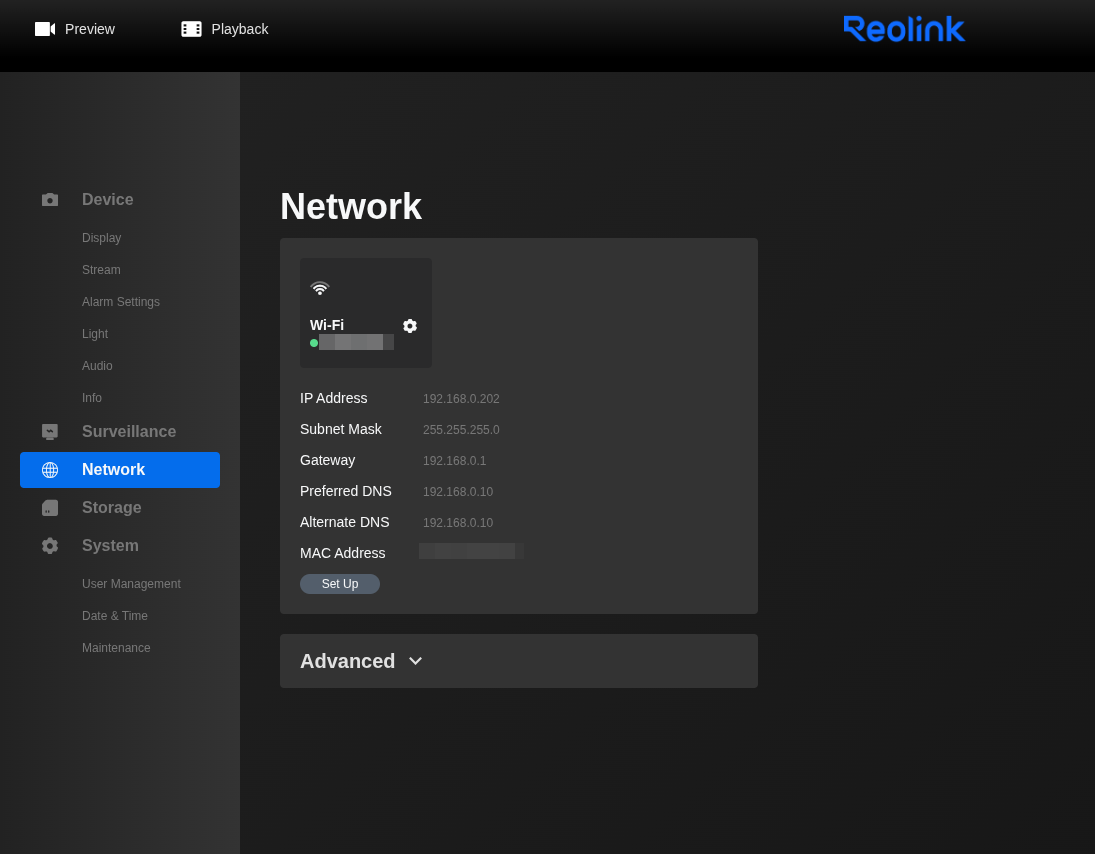
The Reolink E1 Zoom is a pan-and-tilt Wi-Fi camera, but the important part here is not the camera feature list. It is that the device still behaves like a normal host on a normal LAN. It serves a web UI on its local IP, the mobile app can connect to it directly by IP address, and none of that requires a vendor account once the initial local setup is done.
That is the whole reason this approach works. The camera does not need to know anything about Tailscale, NAT traversal, or remote access. It just needs to stay reachable on the home subnet.
Getting the app working locally first
I set up the local path first, because, with Tailscale, the remote path is just an extension of it.
With the phone connected to the same Wi-Fi network as the camera, open the Reolink app and add the device from the local network or by IP address rather than QR code or cloud discovery. The IP can come from your router’s DHCP lease list or from the camera’s own network settings page. The default credentials are printed on the camera label, and are worth changing immediately.
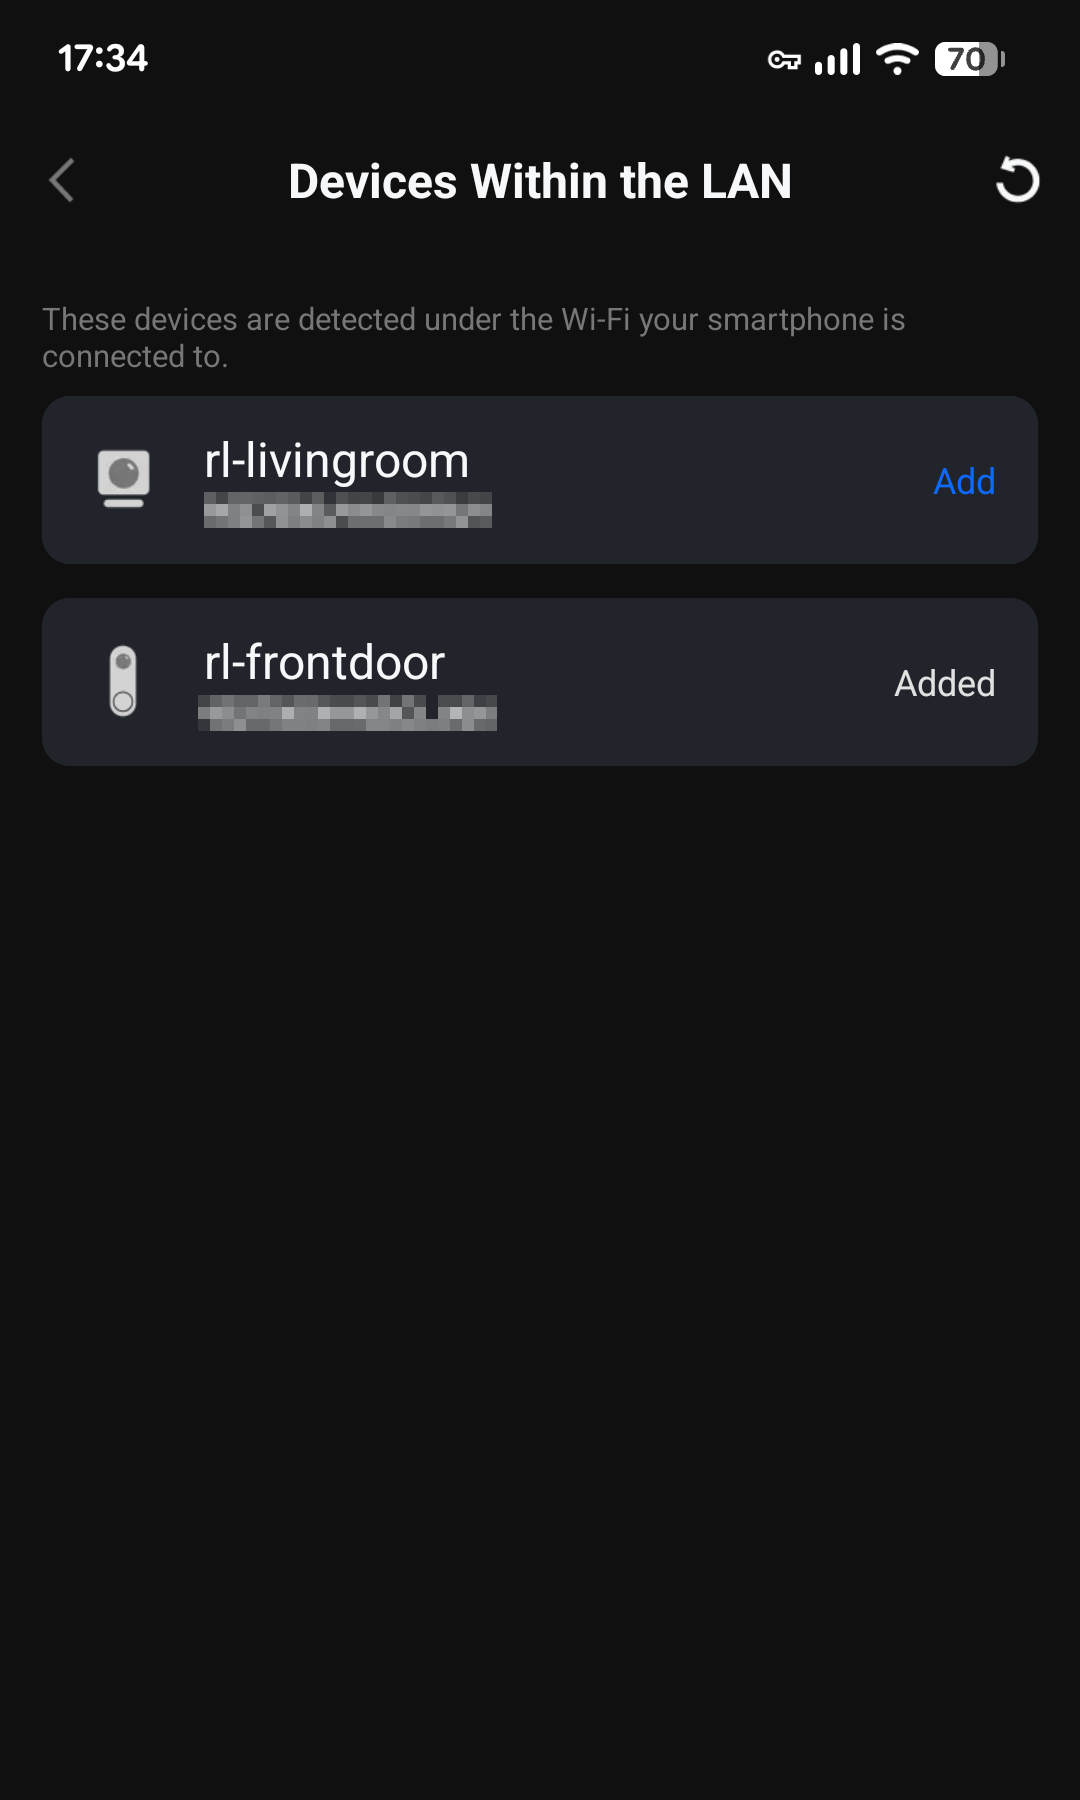
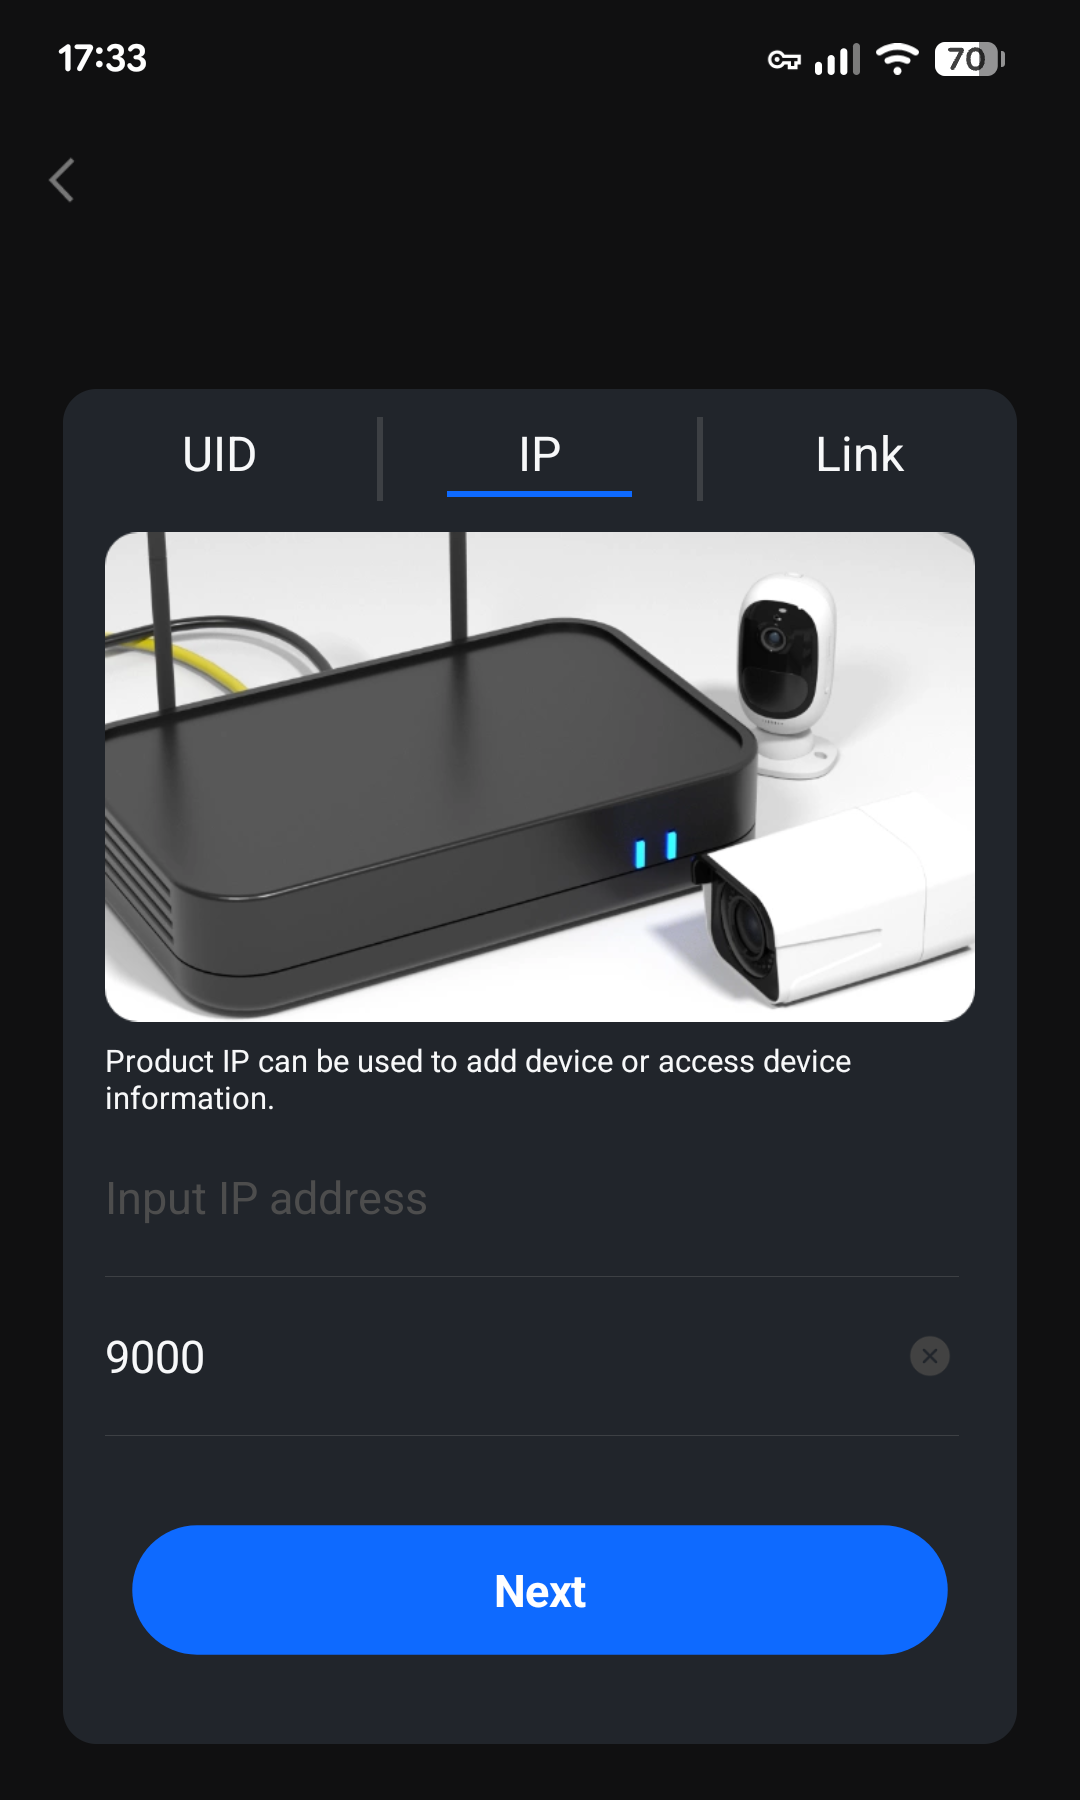
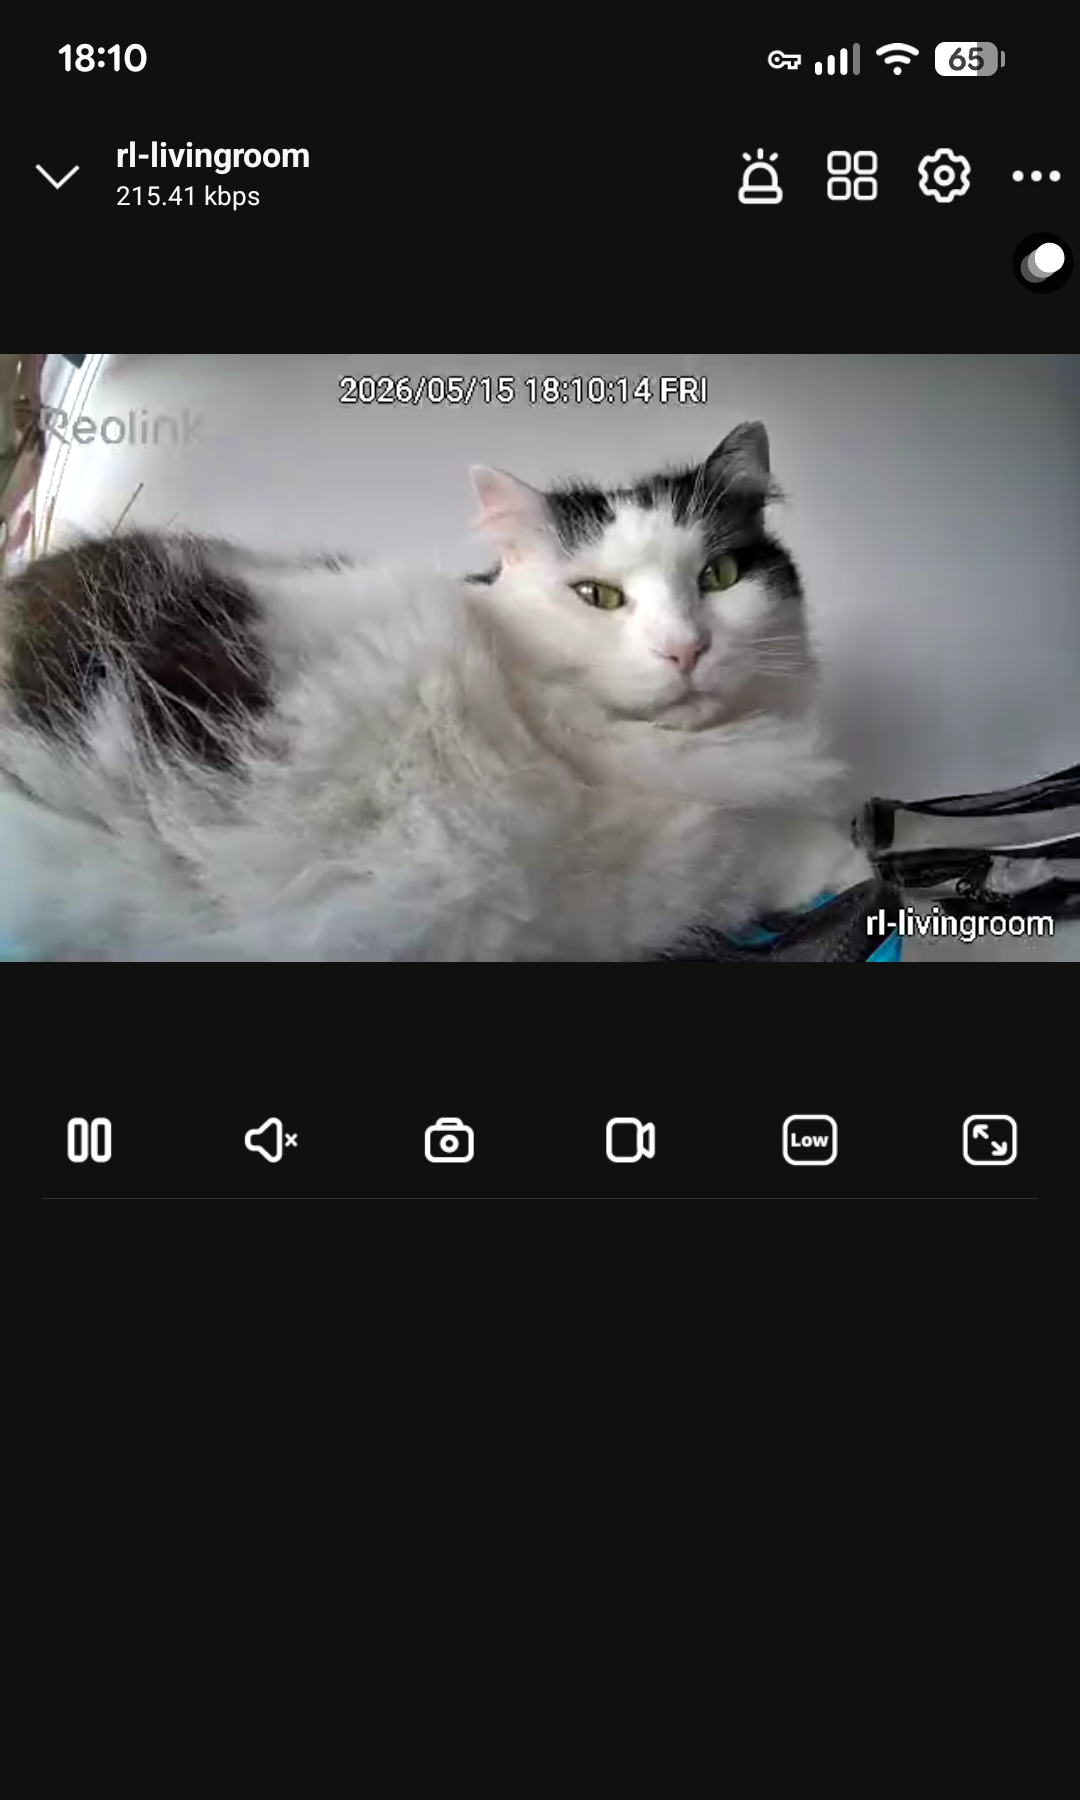
Once added, the app talks straight to the camera over the LAN. Live view, playback, and settings work without any cloud involvement. That’s the exact setup I’m aiming for.
Making the camera address stable
I made the camera address stable before adding remote access, because the app is going to keep using that same 192.168.0.x address.
The easiest way to do that is with a DHCP reservation on the router. The camera still gets its network settings from DHCP, but the router always gives the same IP address to the camera’s MAC address. A static IP configured on the camera also works, but I prefer keeping address management in one place.
Without this step, the setup can work perfectly for weeks and then fail after a reboot or lease renewal because the camera moved from one private address to another.
Tailscale and subnet routing
Tailscale is a VPN built on WireGuard that creates a private overlay network (a “tailnet”) between your devices. Getting started is quick - install the client on your devices, sign in, and they can reach each other by a stable IP or hostname regardless of where they are.
The feature that matters here is subnet routing. A subnet router is a tailnet node that advertises a local IP range to the rest of the tailnet. Other devices on the tailnet can then route traffic to that range through the subnet router, even for hosts that do not have Tailscale installed. The camera stays exactly as it was, on the local network, and the Pi becomes the bridge.
Turning the Pi into the bridge
I used a Raspberry Pi 5 running Raspberry Pi OS, but any always-on Linux box on the home network would do.
Install Tailscale using the official install script:
curl -fsSL https://tailscale.com/install.sh | sh
Subnet routing requires IP forwarding. Create a sysctl drop-in so the setting survives reboot:
echo 'net.ipv4.ip_forward = 1' | sudo tee /etc/sysctl.d/99-tailscale.conf
sudo sysctl -p /etc/sysctl.d/99-tailscale.conf
Now bring Tailscale up and advertise the local subnet. In this example the home network is 192.168.0.0/24, substitute your own subnet if it differs:
sudo tailscale up --advertise-routes=192.168.0.0/24
The first run prints a URL to authenticate the device with your Tailscale account. After signing in, the Pi shows up in the Tailscale admin console.
The advertised route then needs to be approved before it becomes active. In the admin console, find the Pi, open its route settings, and enable the 192.168.0.0/24 route. Tailscale does not automatically accept subnet advertisements without that approval step.
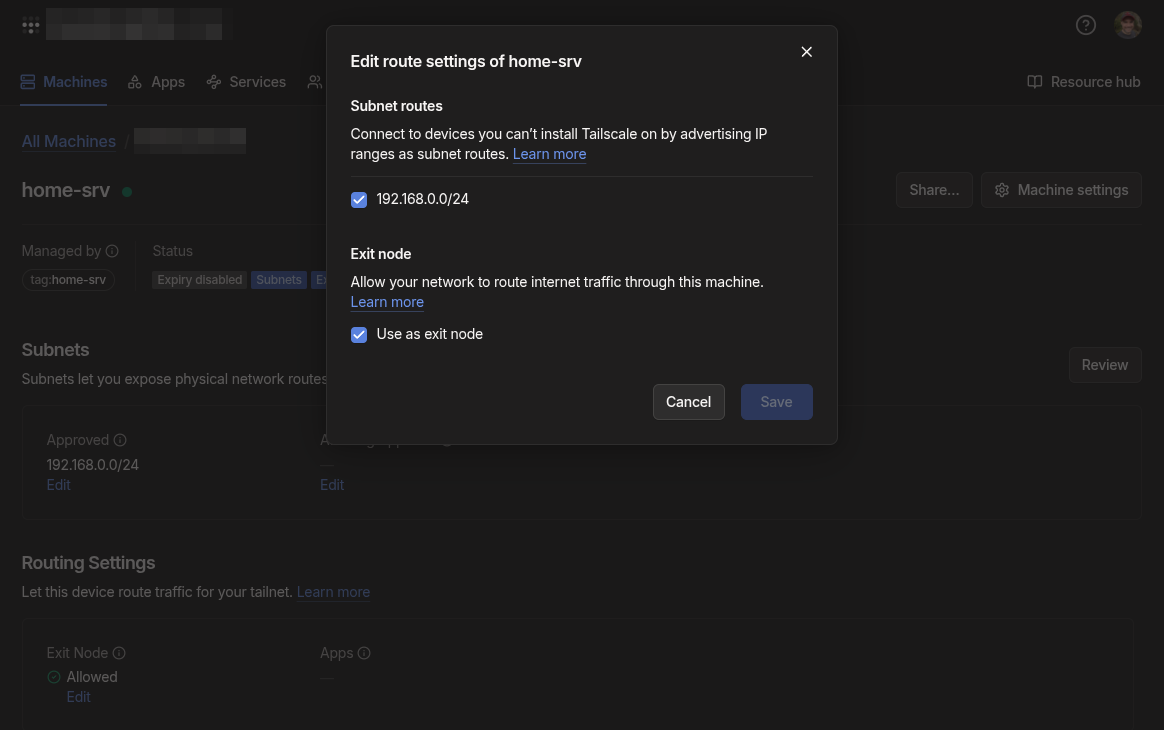
The exit node checkbox in my screenshot is unrelated to this setup. Subnet routing only needs the advertised subnet route.
With the route approved, any device on your tailnet can reach 192.168.0.0/24 through the Pi.
Some clients need to be told to use advertised subnet routes. iOS and Android handle this in the Tailscale app, but on a Linux client I would bring it up with route acceptance enabled:
sudo tailscale up --accept-routes
That setting is for the client device, not the Pi acting as the subnet router.
Using it away from home
I tested it by turning off Wi-Fi on my phone and forcing it onto mobile data. With Tailscale connected, the Reolink app could still reach the camera on the same 192.168.0.x address as before. The app does not know it has left the local network, the subnet router handles the path transparently.
The camera feed comes through the Pi over the encrypted WireGuard tunnel that Tailscale manages. Latency is slightly higher than on the local network, but for watching cats wander around the house it’s perfectly fine.
Access is still limited to devices authenticated into my tailnet. There are no router port forwards involved, and the camera is not exposed directly to the internet.
Disabling the vendor remote path
I disabled the vendor remote-access path last, once the Tailscale path was working end to end.
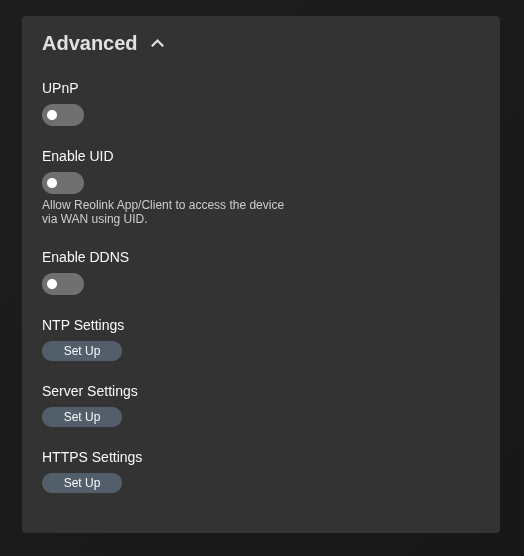
At this point the setup is already doing the right thing: the camera stays local-only, there is no cloud relay involved, and access from outside the house goes through the tailnet. The last step is to explicitly disable the camera’s built-in P2P remote access feature so there is no accidental path left through Reolink’s infrastructure.
Reolink provides instructions for disabling P2P remote access on their support site. The setting is in the camera’s web interface under network settings. Once disabled, the only way to reach the camera remotely is through the tailnet.
Things to watch for
There are a few small network details that can make this look broken when the Tailscale side is actually fine.
If the network I am visiting also uses 192.168.0.0/24, the phone or laptop may already have a local route for the same address range. That overlap can make routing ambiguous. Testing from mobile data is a good first check because it removes the borrowed Wi-Fi network from the path.
It is also worth checking that there are no old port forwards, UPnP mappings, or vendor relay settings still enabled from a previous setup. The whole point here is that the camera remains a normal LAN device and remote access is controlled by Tailscale instead.
What is actually in place
The camera operates entirely on the local network with no cloud dependency. The Reolink app connects to it directly by IP. A Raspberry Pi running Tailscale advertises the home subnet into the tailnet, which makes that same private IP reachable from any authenticated device I own. The camera itself has no awareness of any of this and needs no special integration beyond its normal LAN setup.
The useful boundary is that the Pi is the only bridge between the tailnet and the camera subnet. Remote access is tied to my Tailscale devices rather than to a camera vendor account, and disabling Reolink’s P2P path removes the fallback route I did not want to rely on.